
Adding pictures to your products
Give each product a photo, and your customers see it when they order. You can add a whole folder of photos at once, or one at a time, and tidy them so they look like a set.
Where your customers see them
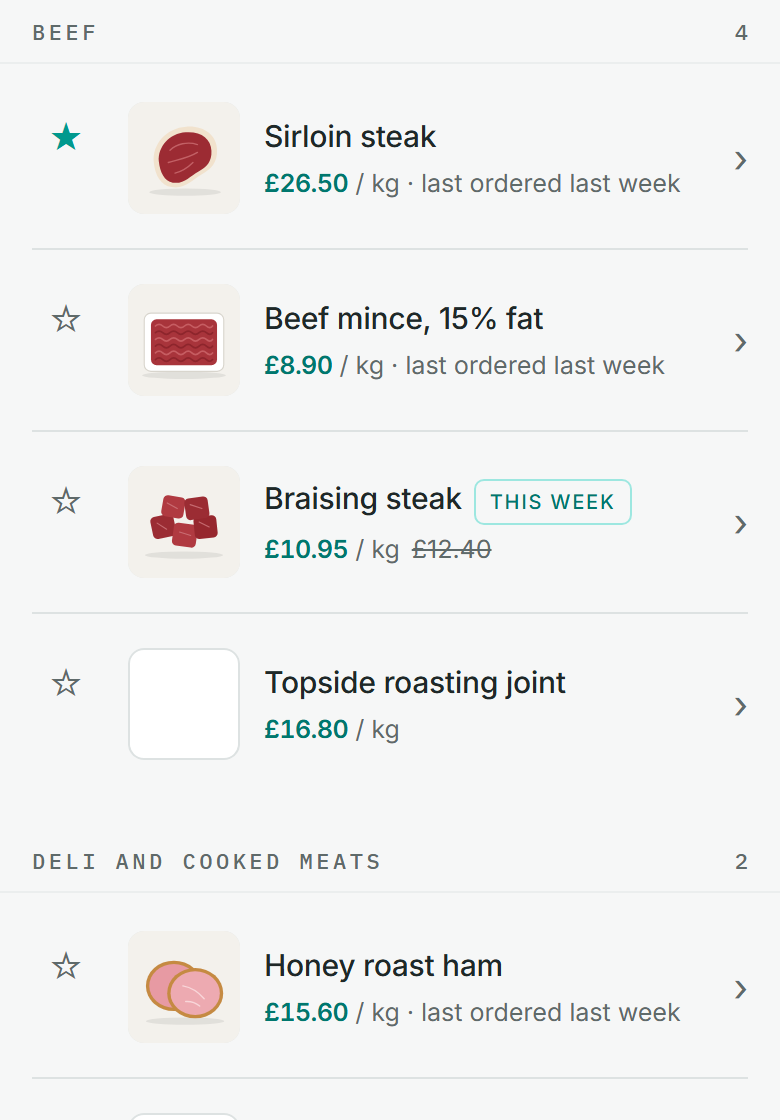
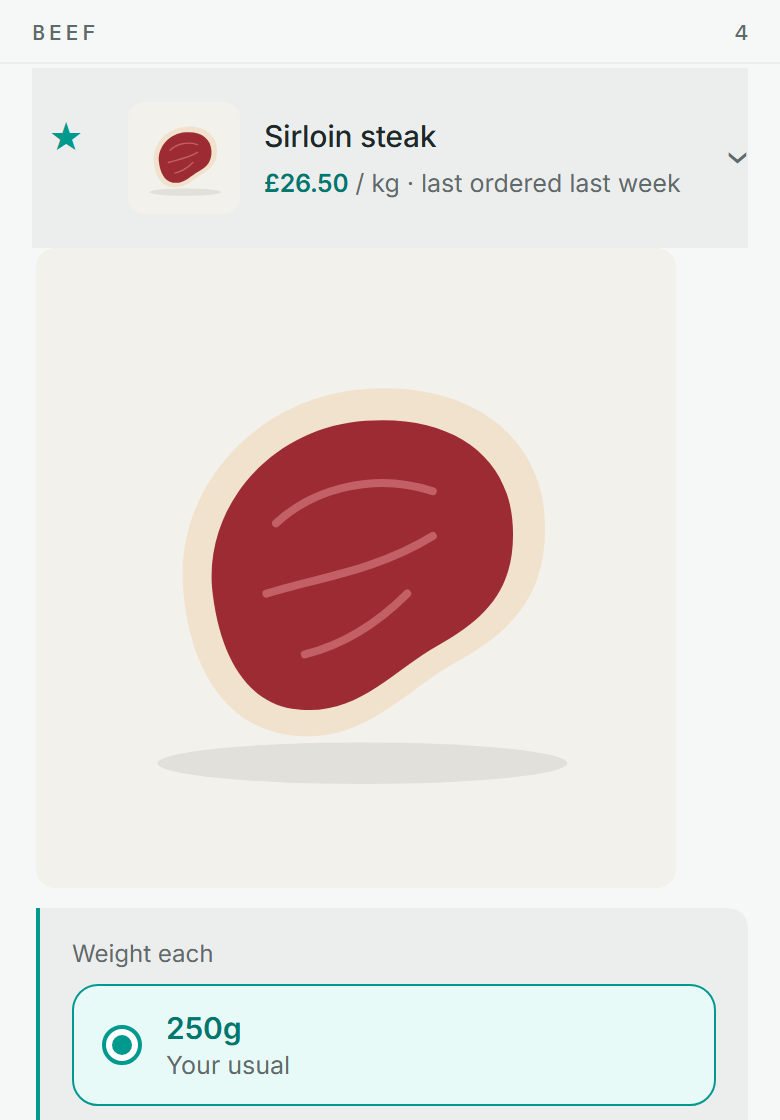
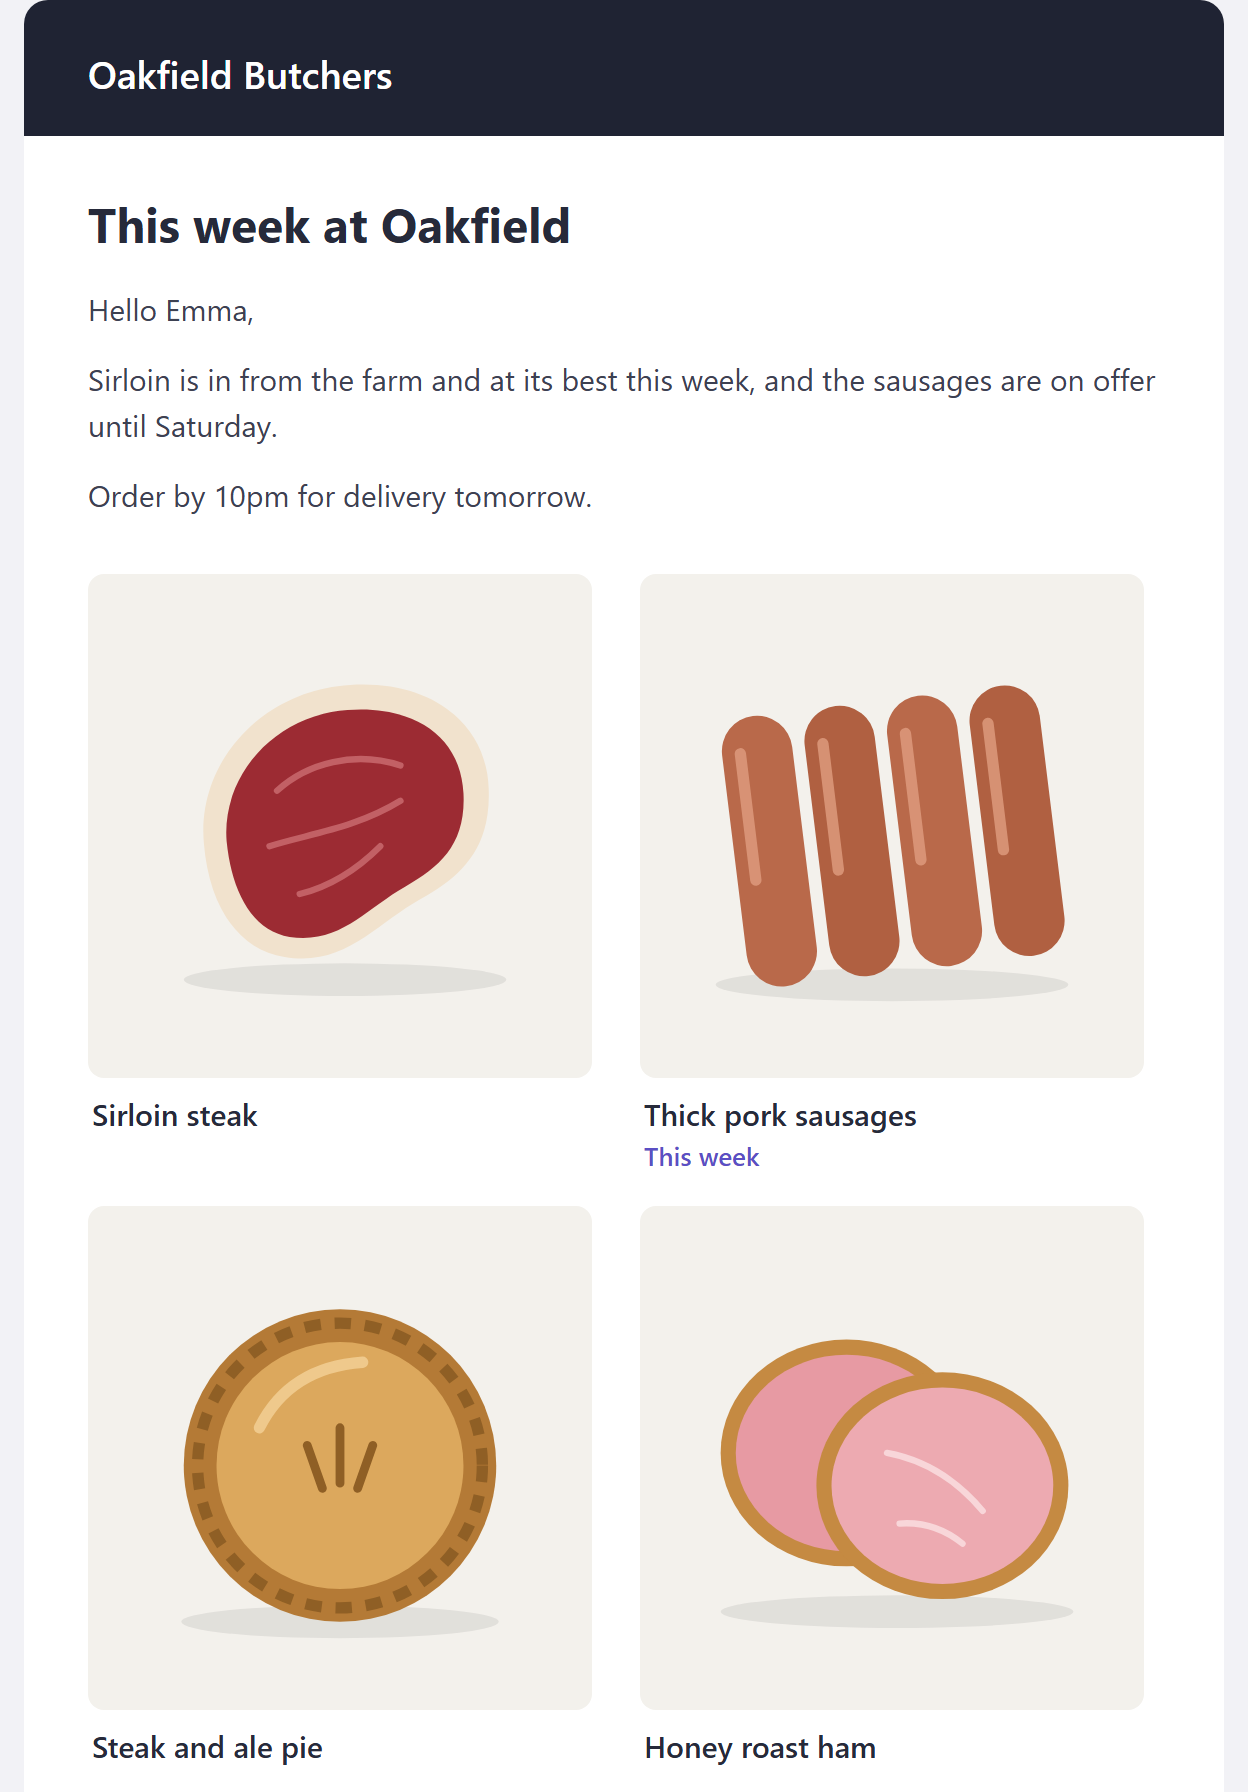
These are the real screens, with a made-up shop's products.
Get your photos ready
The quickest way is to name each photo after the product it shows. Order-Point then matches the photos to your products for you. Use the product's code, or its name exactly as it appears on your Products page.
| File name | Matched to |
|---|---|
| 3-1042.jpg | The product whose code is 3:1042. Write the colon as a dash, because a file name can't contain one. |
| 1042.jpg | The same product, when no other department uses 1042. |
| LAMB-01.jpg | A product with your own code LAMB-01. |
| Pork Sausages 6pk.jpg | The product called Pork Sausages 6pk. Capitals and punctuation don't matter. |
| 1042 Pork Sausages.jpg | A code followed by the name works too. |
| IMG_4471.jpg | Nothing: a camera's own name. You choose the product for it yourself. |
Your product codes are in the first column of the Products page. If your photos are already named some other way, that's fine: you'll pick the product for each one from a list.
The best photo
Square, 1000 × 1000 pixels or larger, with the product in the middle.
The product list shows every photo in a small square. A square photo fills it. A wide or tall photo is shown whole, so nothing is cut off, but it comes out smaller with a white band either side.
- Take it square. Most phone cameras have a square setting (on an iPhone, the 1:1 option in the Camera app), so there's nothing to edit afterwards.
- Fill the frame. One product per photo, in the middle, taking up about four-fifths of the picture without touching the edges.
- Keep the background plain. White or a clean board, in good light. On white, the bands round a wide or tall photo disappear.
- Bigger is fine. Order-Point makes each photo small enough for a phone before it is sent. Under about 600 pixels it can look soft when a customer opens the product.
- JPG, PNG or WebP.
- iPhone photos (HEIC) open in Safari but not in Chrome. In Chrome, save them as JPG first, or set the iPhone camera to Most Compatible (Settings › Camera › Formats).
- Use photos you took yourself, or ones you have permission to use.
Add a whole folder at once
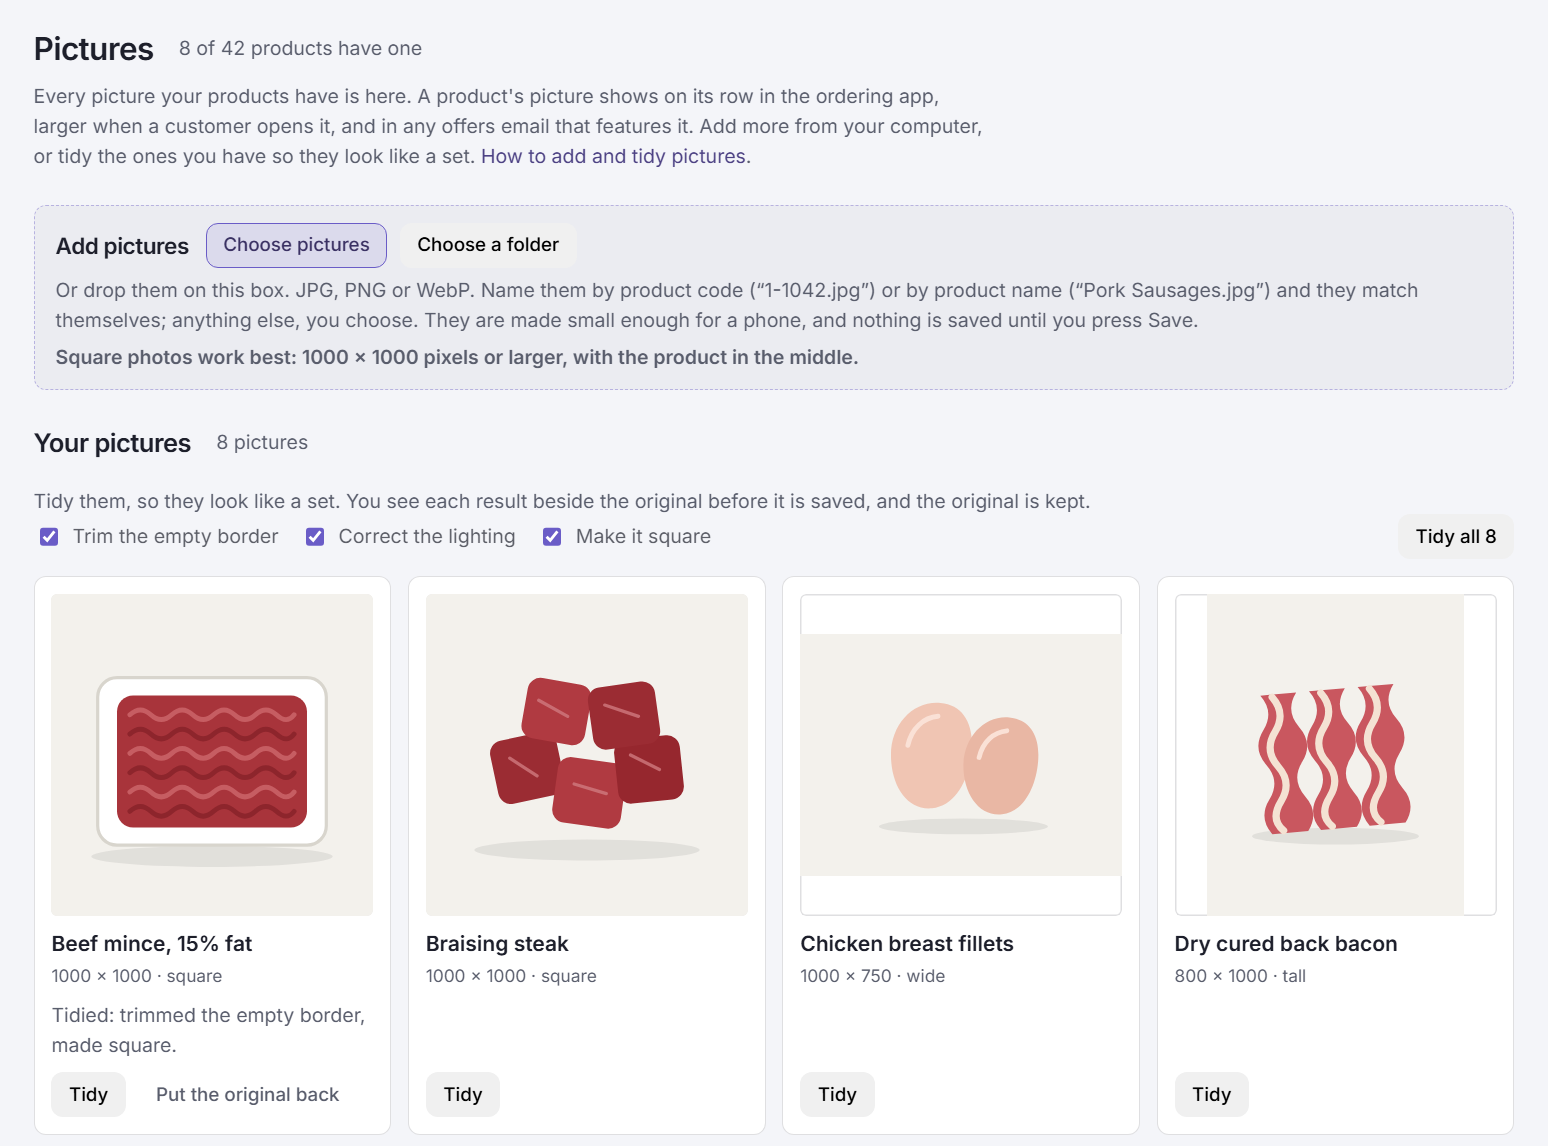
Open Pictures
In your admin centre, go to in the menu on the left. The top of the page says how many of your products have a photo, and every photo you've added is shown under .
Choose your photos
In the box at the top of the page, press or , or drag the photos onto the box. Anything in the folder that isn't a photo, like a spreadsheet, is left out.
Check each match
Every photo gets a row showing the product it was matched to. Look down the column (the labels are explained below).
Choose the product for any that didn't match
Type in the box and pick from the list. Untick any photo you don't want to use.
Save
Press . The button says how many photos will be saved. Nothing is saved until you press it, so a wrong match only costs you a click. The saved photos then join below.
A photo that isn't square, or is small enough to look soft, says so under its file name: for example Wide, not square: it will look small in the product list. It still saves if you leave it. To fix it, swap the file for a square one and choose it again, or save it and try on it afterwards.
A product has one photo. A product that already has one says Replaces the picture it has now. If two photos are ticked for the same product, Save waits until you untick one.
Add or change one photo
On the page, each product has a column. Tap the empty square to add a photo, or tap a photo to replace it. takes the photo off.
Tidy the photos you already have
Photos taken on different days, on different phones, rarely match. Tidying makes them look like a set, without you opening a photo editor.
Open Pictures
Go to . Every photo you've added is shown under , each with its own button.
Choose what to do
Three boxes are ticked to start with: , and . Untick any you don't want.
Tidy
Press , or on one photo. Each result appears beside the photo it came from, with what was done written underneath. A photo that needs nothing says so.
Save the ones you like
Press on a photo, or for them all. drops one. Nothing changes for your customers until you save.
Tidying only corrects the lighting and the framing. It never changes the product itself, so what your customers see is still what you sell.
Your original photo is kept. To go back to it, press on that photo.
Show products in an offers email
Open , then start a new campaign or edit a draft. Under , type a product's name and pick it from the list. You can add up to six.
They appear under your message, two to a row, each with its photo and name. A product that's on offer says so. Prices are left out on purpose: trade customers may pay their own, and each customer sees their own price when they tap through to order. Press to see the email before it goes.
Questions
When will my customers see the photos?
The next time their ordering app loads your products. If a customer has the app open, they'll see them after going back to the products or reopening it.
Will the Velocity sync overwrite or remove them?
No. Photos belong to Order-Point, and the sync never touches them. A product switched off in Velocity keeps its photo, and the photo is back when the product is.
A photo looks small in the product list.
It's wide or tall, so the whole photo is fitted inside the square, and nothing is cut off. Tidying trims the empty space round the product, which often makes it larger. A photo taken square fills the square.
A photo is on its side.
Photos are turned the way the camera held them. If one still looks wrong, rotate and save it on your computer or phone, then add it again.
Can a product have more than one photo?
No, one each. Adding another replaces the first.
Some products have a photo and some don't.
That's fine. Products without one show an empty square, so the list still lines up. Add the rest whenever you have them.
Where do I find a product's code?
On the Products page, in the first column (Code or Ref). A Velocity code looks like 3:1042: department 3, PLU 1042.
Stuck? Contact Conexio support. All guides